Greetings from the Dark Side!

Sorry for the long wait on the work-in -rogress for my cosplay costume! I've been so busy so I haven't really had too much time to work on my cosplay, and even less to post about it. The third step I took in making my cosplay was creating the arm bracers. I honestly had to idea what to do when I started. I am pretty happy with how they came out though. However, I should have really thought about how I was going to secure them onto my arm before hand >_<" I still have not figured that part out yet! But let's a look at the process that I took to make these!
Keep reading for more~
Products Used:
-scissors
-craft foam
-heating tool
-Gesso primer
-spray paint (silver)
-small brushes
-acrylic paints (black and silver)
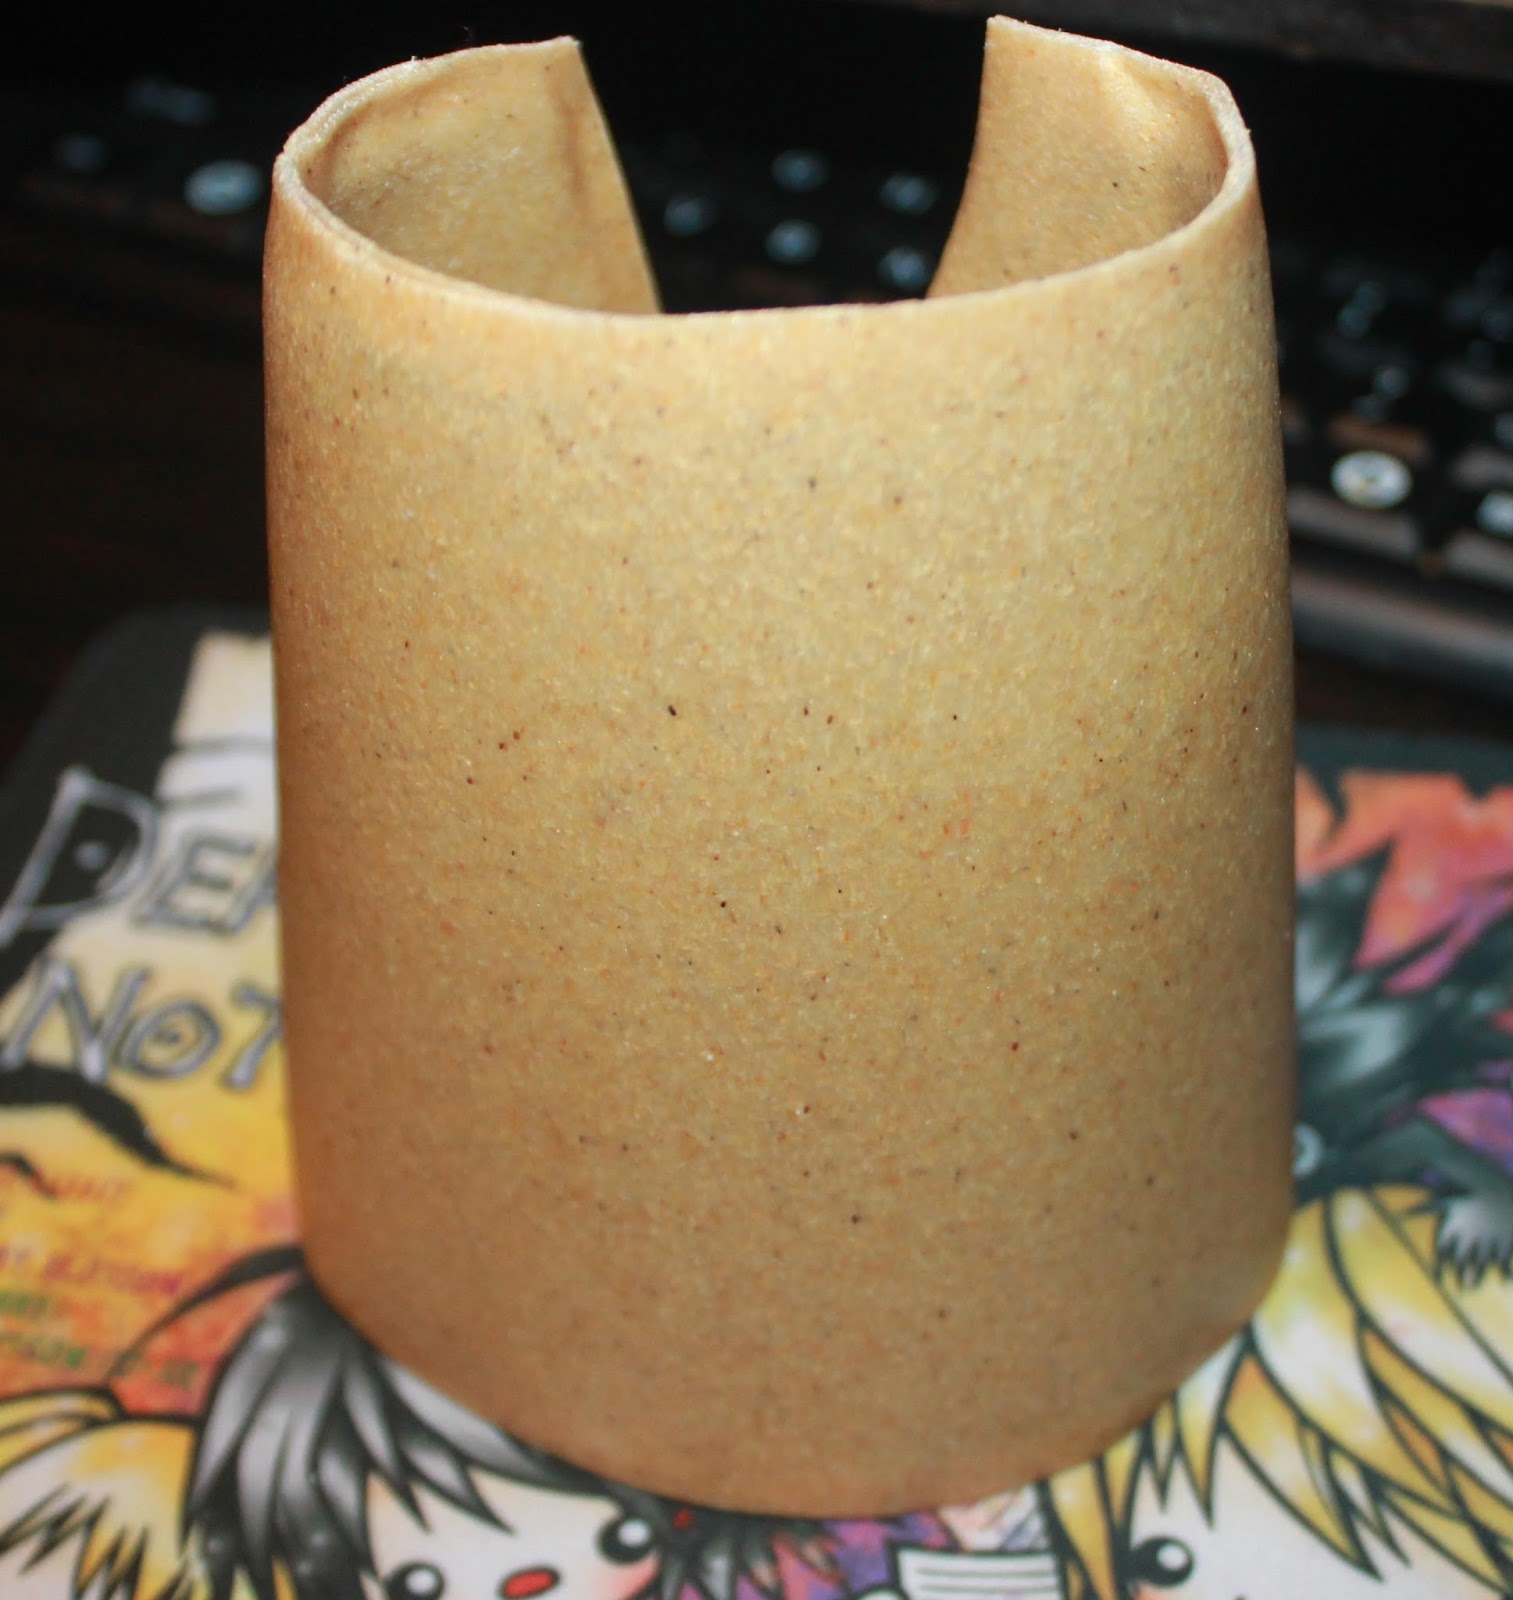
1. I started out by making a pattern with craft foam (you can see THIS tutorial). Then I proceeded with the "sandwich Worbla" method for making armor pieces. Basically this is using two layers of Worbla to sandwich the craft foam pattern you made (so you will have worbla-craft foam-worbla). This ensures that the armor piece will be thick and durable. The craft foam also makes it easier to shape the Worbla. For the arm pieces I used one piece of craft foam and two pieces of Worbla to create a cuff-like shape. I used my heating tool to bind the pieces together and to bend the Worbla into a cylinder shape that would fit around my wrist. The easiest way to shape the Worbla is to heat it up and then to gently bend it, then place it over the area you will be wearing it on. In this case, I wrapped it around my wrist (I protected this area with a thin sweater since the Worbla will be hot), and then gently pressed it so it would get the perfect shape (although it did not end up perfect).
2. Once I had the basic shape done, I went to make the spikes. For this, I improvised. I used those tips that are used for frosting cakes xD They were the perfect size and it made this whole process so much easier. Because the spikes are hollow, I filled them in with Model Magic and then used a bit of Model Magic to create a base around the spike. I then glued the Model Magic base onto the Worbla.
EDIT: Model Magic SUCKS!!! It made the spikes really fragile. If you are doing this method, I suggest filling the frosting tips with heated up worbla. I had to remove all the spikes and do this to get the spikes to really stick to the rest of the bracer. DO NOT USE MODEL MAGIC!
EDIT: Model Magic SUCKS!!! It made the spikes really fragile. If you are doing this method, I suggest filling the frosting tips with heated up worbla. I had to remove all the spikes and do this to get the spikes to really stick to the rest of the bracer. DO NOT USE MODEL MAGIC!


3. I followed Step 2 to make a total of 5 spikes for each bracer. You can add your own touches to this by adding small designs and borders with Worbla. ^_^ Here you can see the difference between one bracer that I was barely starting and one that already had the spikes on. After adding the spikes and all the details are done, you can prime the entire bracer with Gesso.

4. After applying a few coats of Gesso, you can finally paint your bracer. I just used a silver spray paint as a base color and silver and black acrylic paints for details.

This is pretty much where I am currently. I am still trying to figure out the best way to secure these to my arms. I also still need to seal the paint with some finishing spray. But besides that, what do you think of the result? I definitely make many mistakes, but I've learned a lot. If I can give you any advice it would be to have patience. I was very impatient with this which lead to me making make mistakes. So just take your time if you can!


Just saw the breast plate and now this! I can't wait to see the finished look! Making me wanna play LOL again :P
ReplyDeleteHaha ^_^
DeleteDamn, Nancy, you're GOOD!
ReplyDeleteOh thank you! I think I have so much to learn still!
DeleteWow, cool! I always wondered what materials cosplayers use.
ReplyDeleteThis is just one method. The only one I know, LOL.
Deleteit's amazing how many talents you have! You can do everything! :) mad props
ReplyDeleteHaha thank you~! I am trying to broaden my horizons ^_~
DeleteAmazing! Keep the job!
ReplyDeleteAnd I think that you didn't take so long to continue. Actually, I think that you are very fast!
Thanks! I have to be done in a week so I sort of have to be fast!
DeleteThank you!~
ReplyDeleteWill you continue these posts?
ReplyDeleteYes, I will! I'm going to be honest and say that I totally forgot about them! I completed my cosplay but I didn't finish posting it. I will try to get the posts up in the next two weeks.
DeleteHey did you figure out how to secure them to your arms? They look really awesome!
ReplyDeleteThank you! I sort of did, but I haven't worked on my cosplay for a while! I am going to get back to it because I am going to a convention in May :)
DeleteHey did you figure out how to secure these to your arms? They look awesome!
ReplyDeleteThey look so good! I made some for myself for my Katarins cosplay, turned out great! Did you ever use this costume and have a picture of it on? :D
ReplyDeleteI don't have any pictures of it but I did end up wearing it to a con last year. I was not very happy with how it turned out so I decided to change it a bit. I have not had the time to do so though!
Delete